
Cinema 4D Basecamp
This intense 6-week course (plus a few weeks for catching up and extended critique) is taught by the Cinema 4D guru himself, EJ Hassenfratz. I wish I could say I knew everything from the get-go in the beginning. When I first started on the course, I knew absolutely nothing about 3D - I haven't even opened Cinema 4D before. Luckily, EJ and the School of Motion team was there to guide me to reach the top.
Here are some of my favourite pieces created throughout the course.
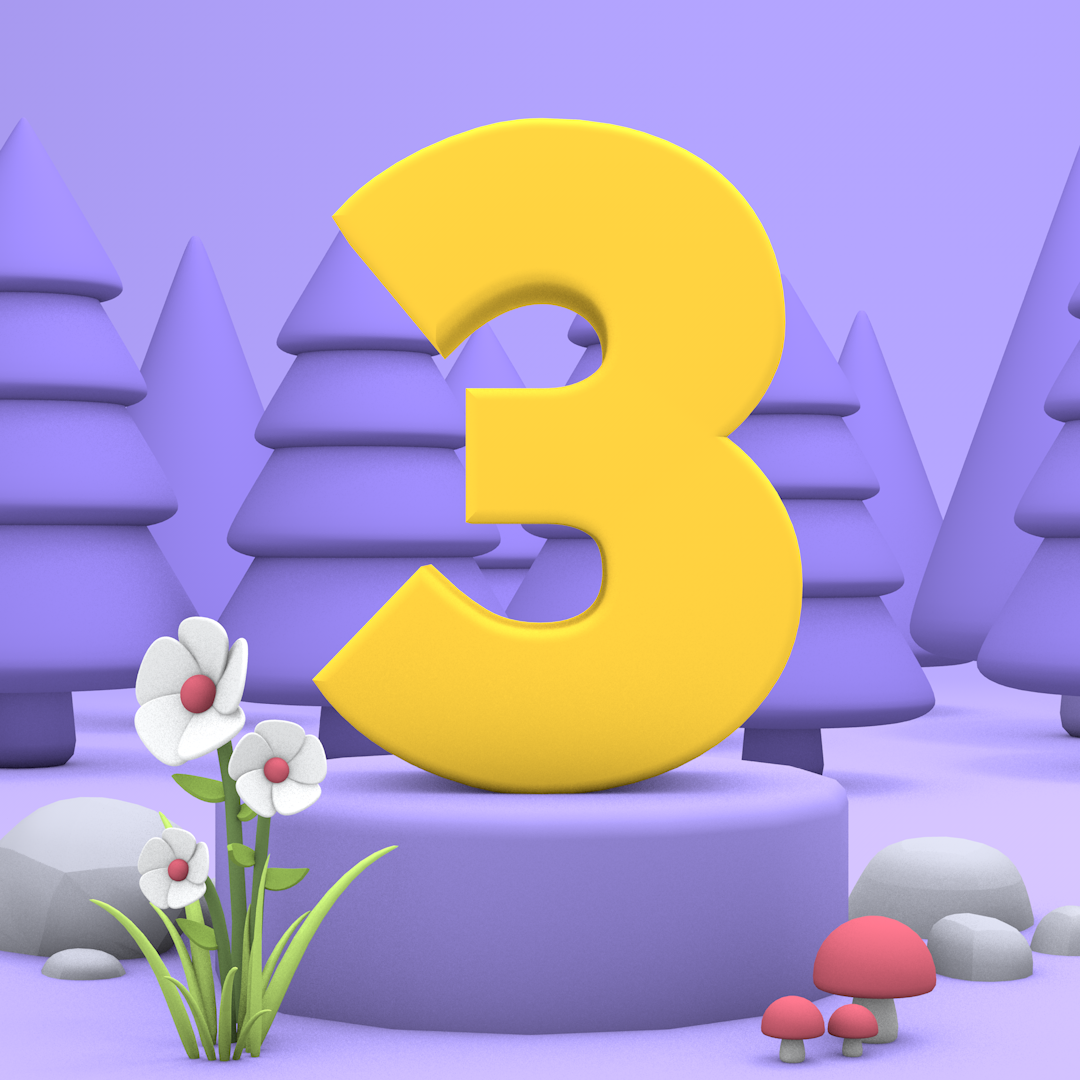
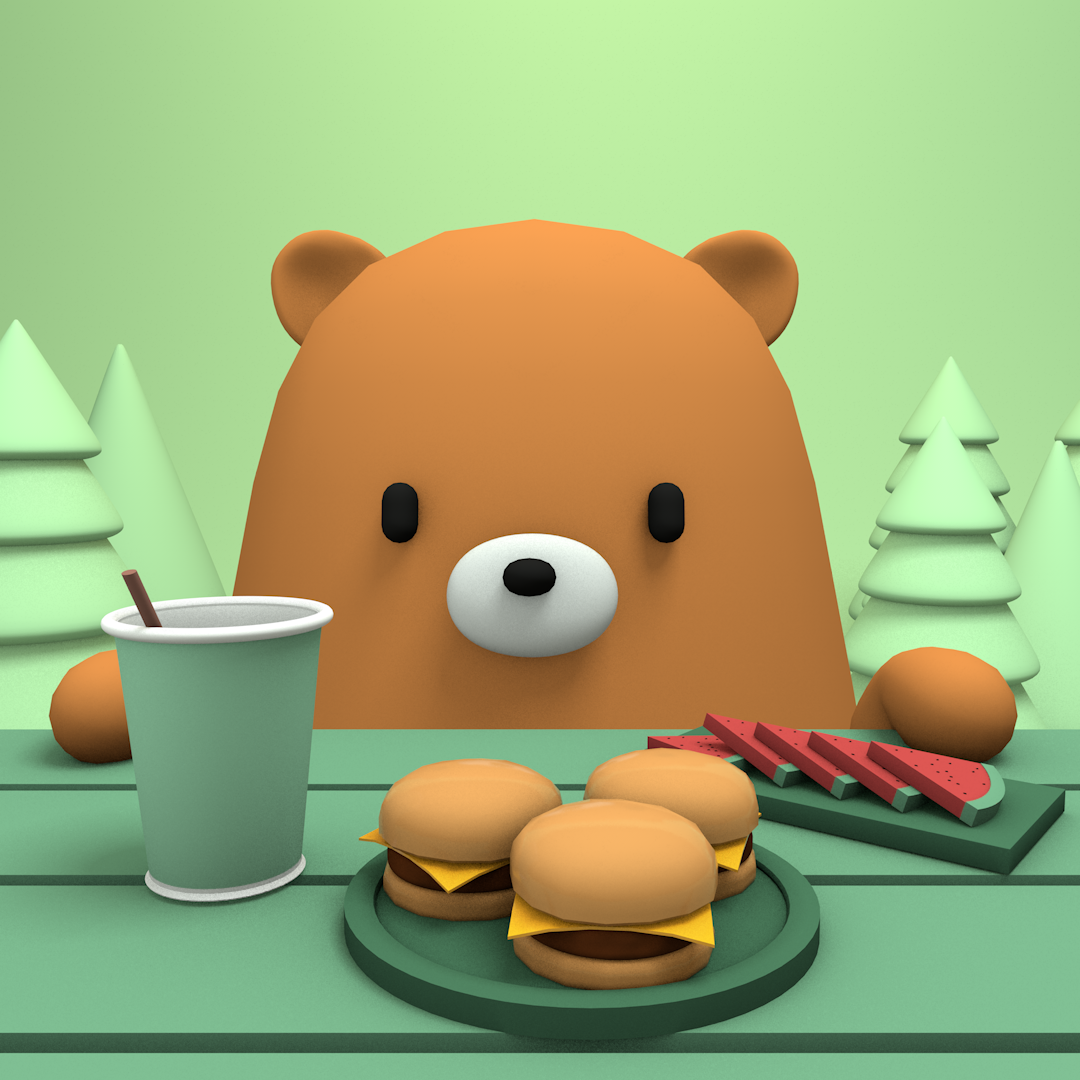
Three Camping Tips
First up is my final project from the course. We were tasked with making a fully animated 15-second social spot for a fictional client “explain.ly“, an educational website catered for children. Everything from modelling, lighting, texturing to animating and compositing had to be done from scratch, based on an animatic and a voice over track.
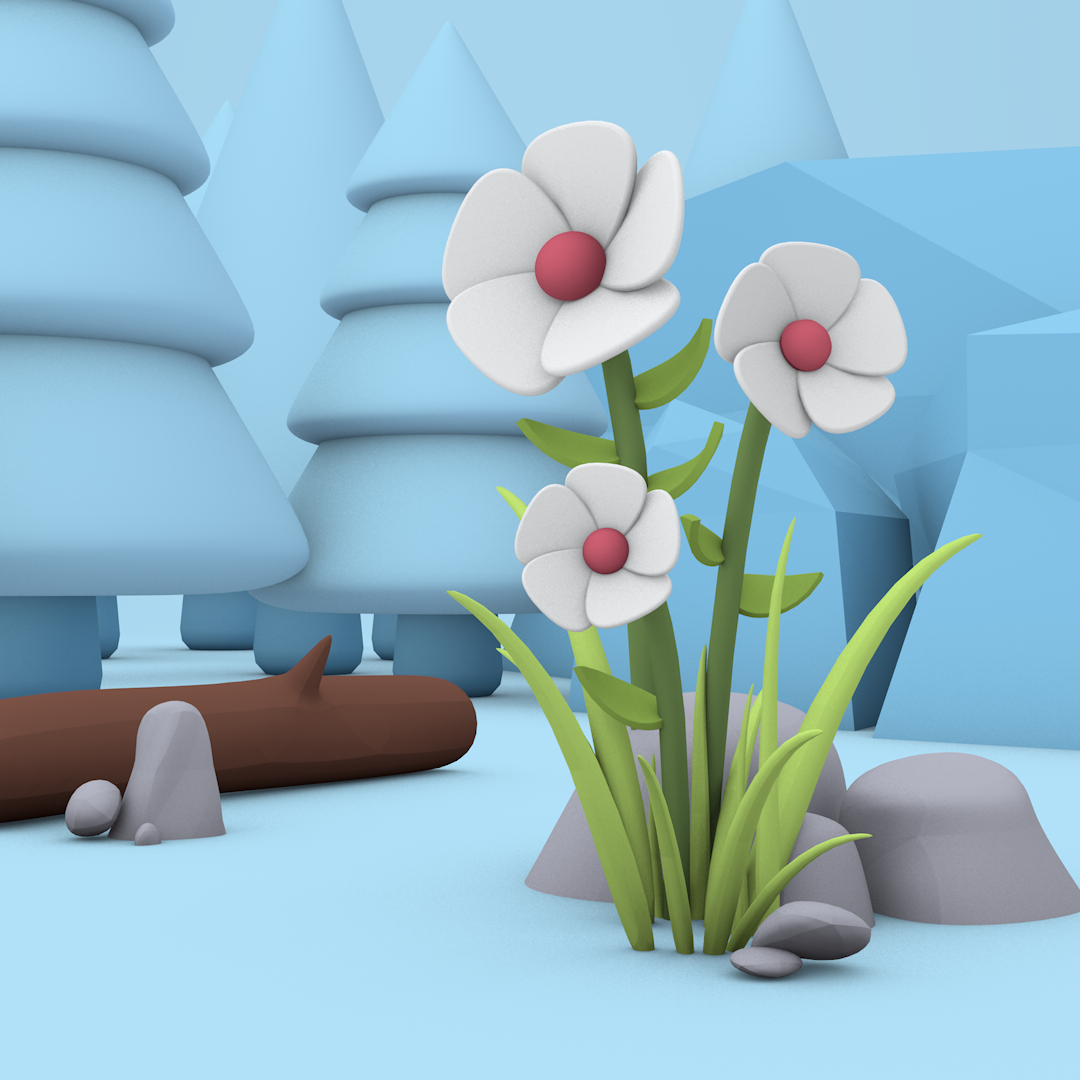
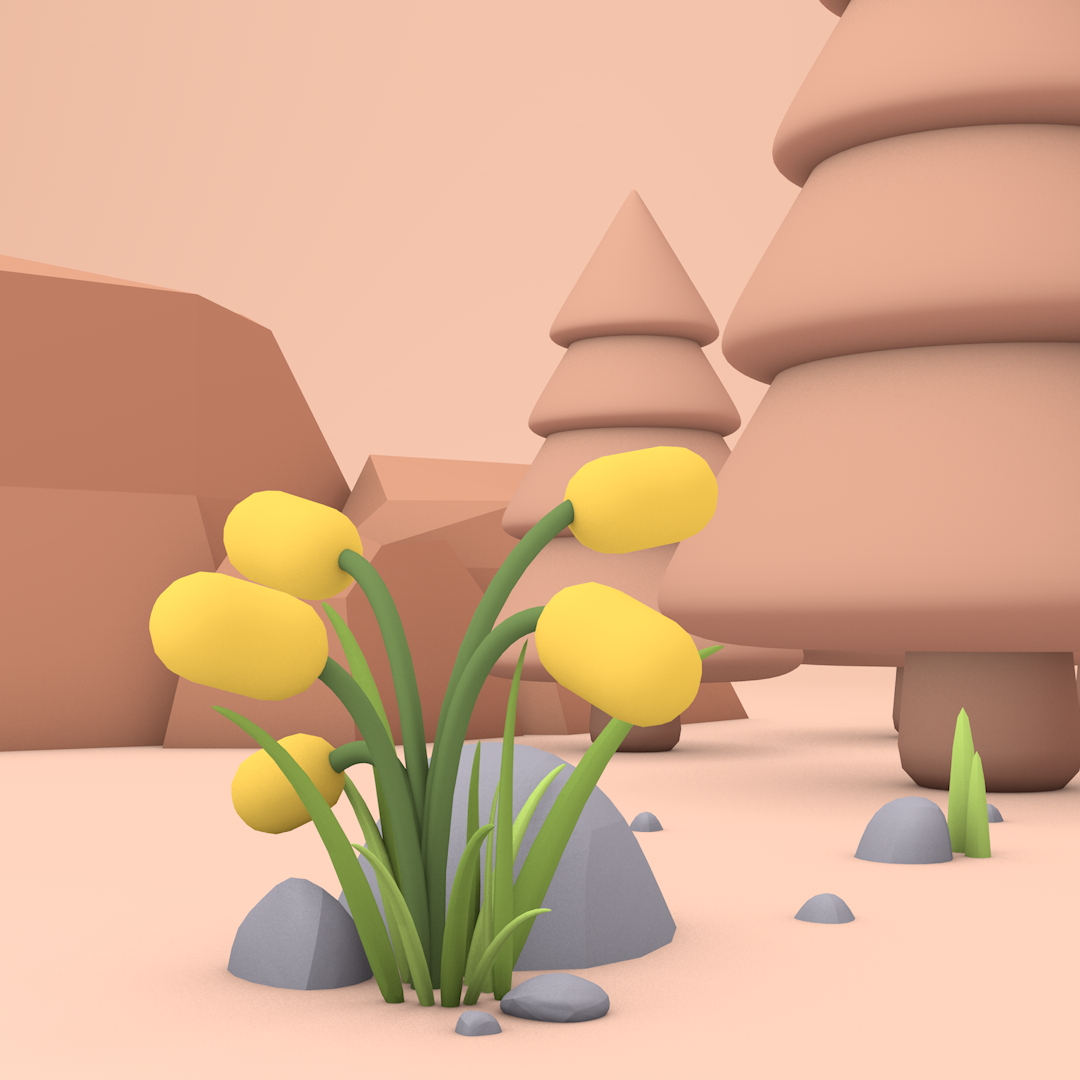


Understanding the Basics
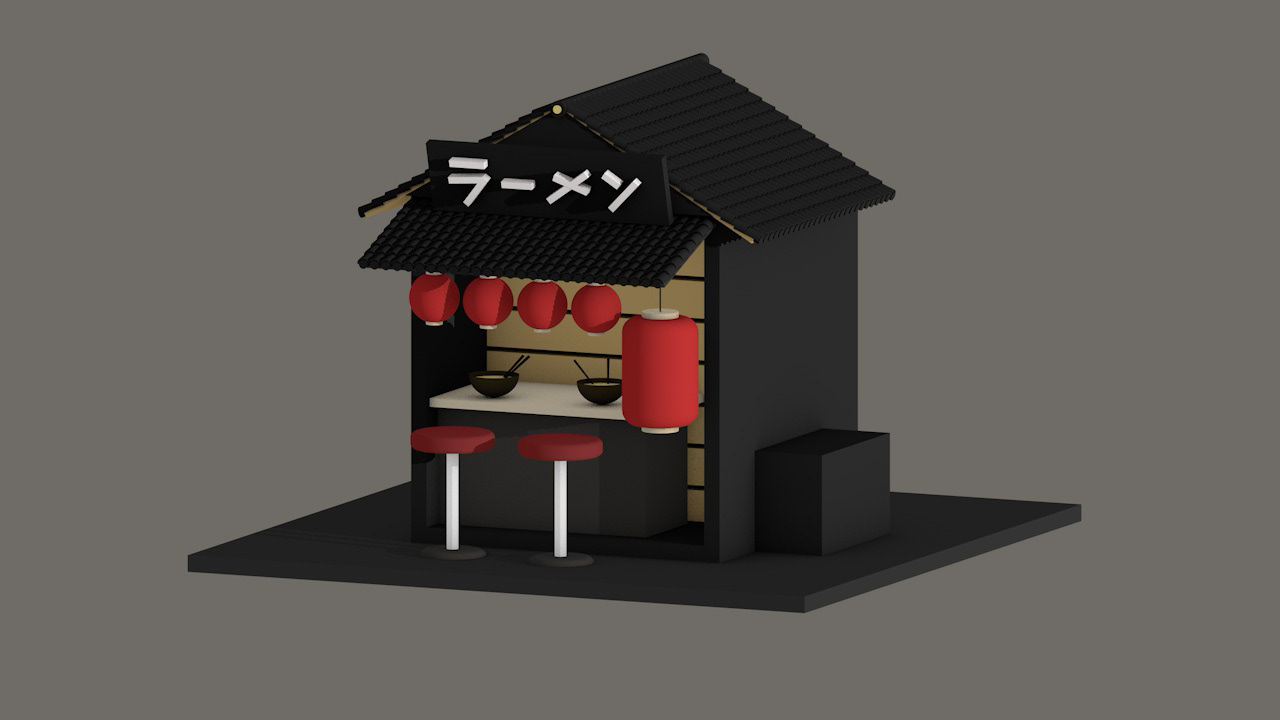
In the early stages of our course, we focused on the fundamental principles of 3D animation, specifically, modeling, lighting, and texturing. Here are some of my work from these lessons.

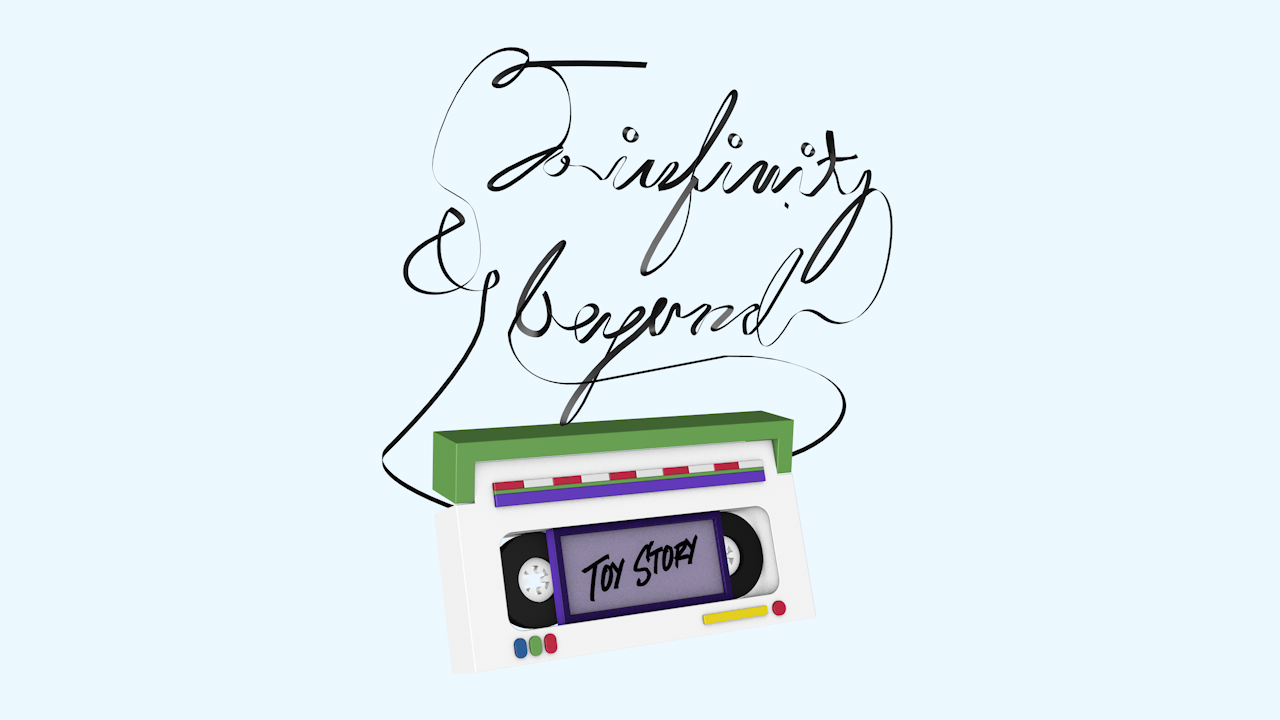


Making Things Move
Afterwards, we learned how to animate! We went through all the basics of animating in 3D and made sure we were comfortable navigating around the timeline in Cinema 4D.
The scene came fully modelled (with QBert and Sam, our two main characters!) and we were tasked with texturing, lighting and animating this chain-reaction scene.
Learning about the mograph tools, especially cloners and effectors, has been an absolute blast during my course. One of the most fun assignments was creating a tiny city using these tools.I thought it'd be cool to build a 'smart city' inside a smartphone. The real game-changer for me was realizing how I could animate such complex scenes with just two keyframes.
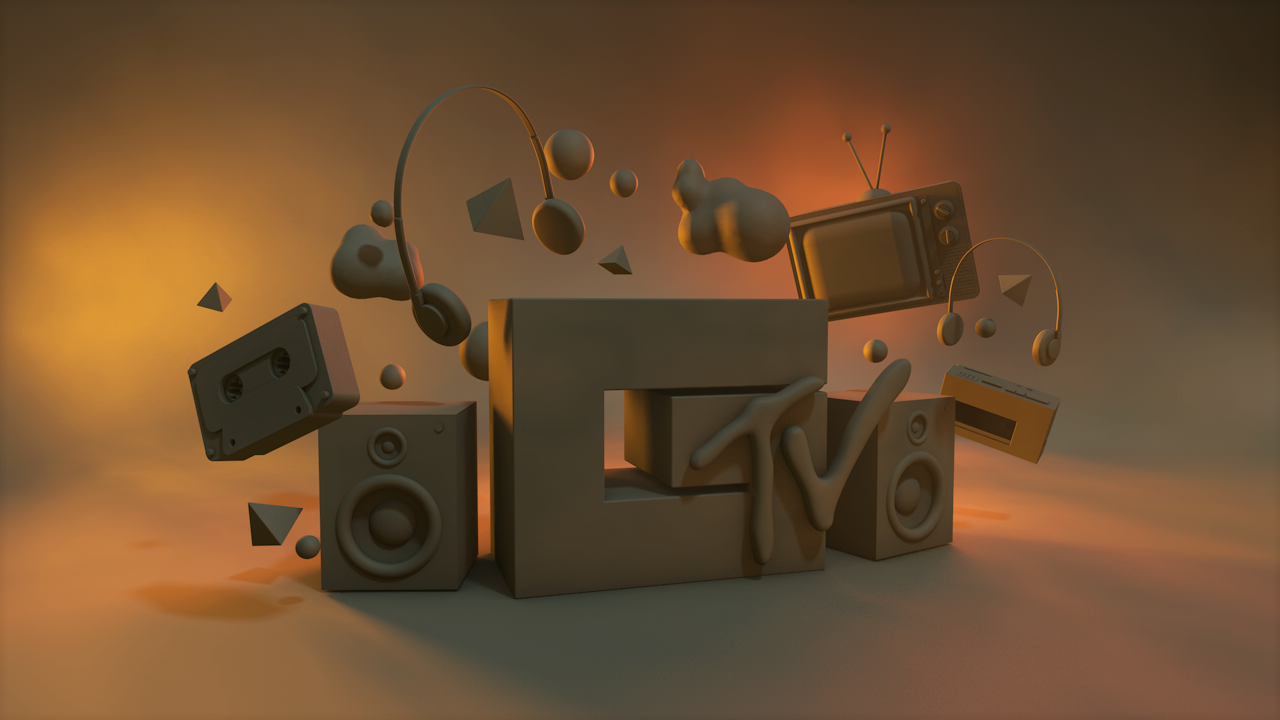
Finally, we delved into the world of compositing, an essential skill for taking C4D renders to the next level. The props were provided by SOM, and it was our task to bring them to life. I learned how to render multiple passes within C4D and then fine-tune them in After Effects, giving me complete control over every aspect of the 3D render. Unfortunately, my trusty laptop struggled to keep up with all the shaders and effects, resulting in a less-than-optimal 720p render of my Rock Em Sock Em Robots project.